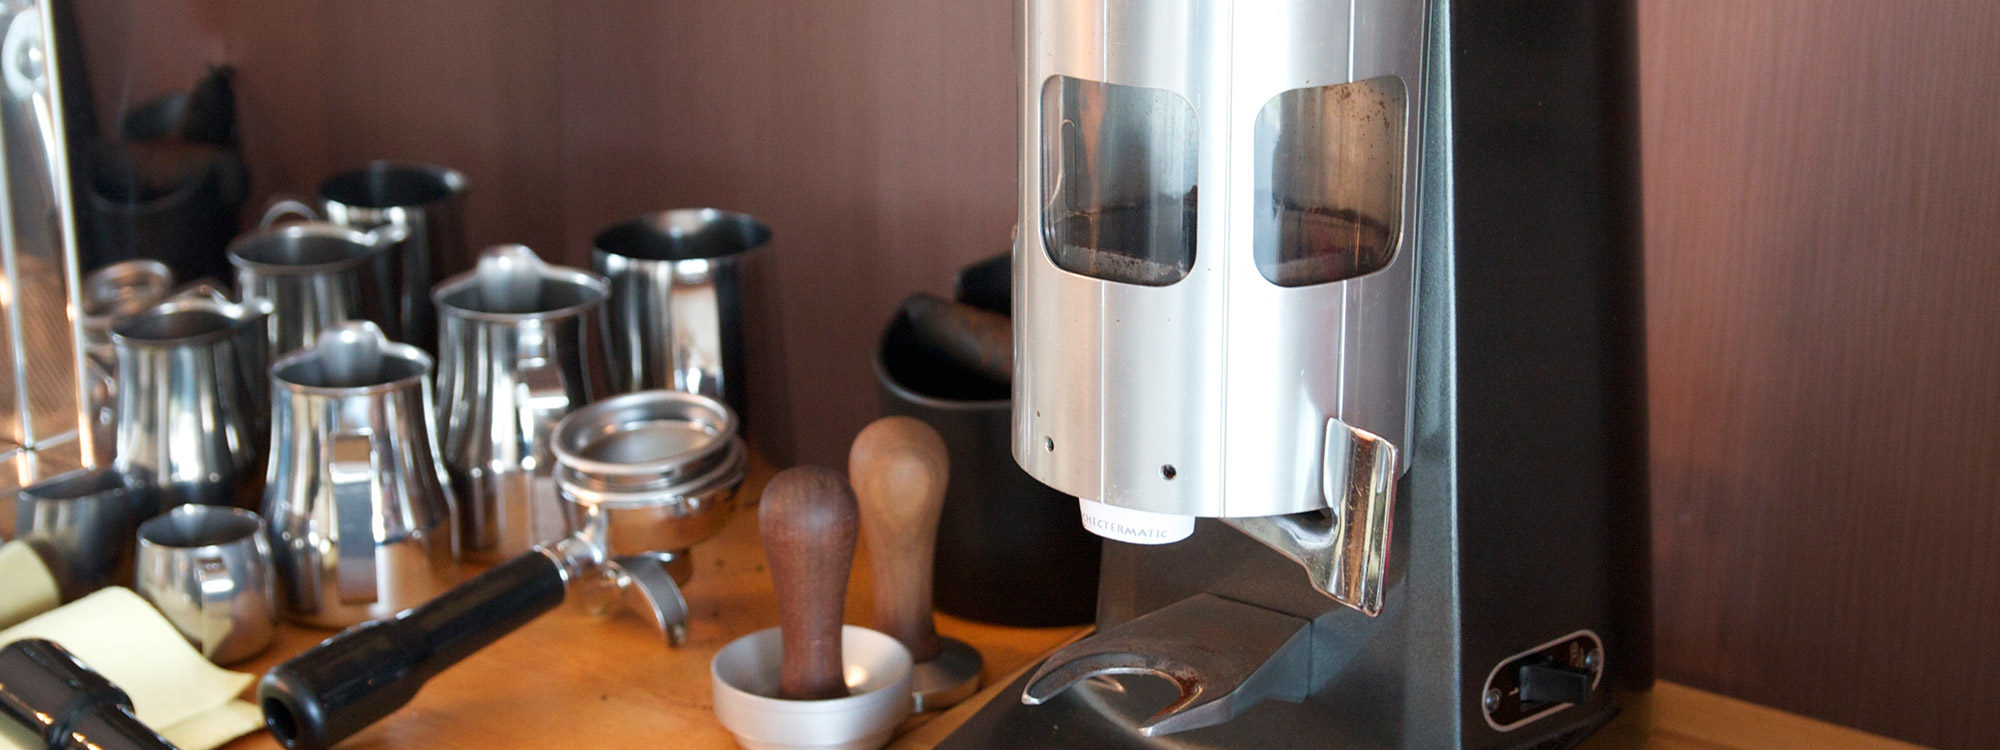
Just recently when I tried to dose some grinds into my portafilter, I noticed that the doser handle wasn’t returning to its starting position automatically anymore. This is something that everyone using a grinder with a doser will eventually run into but luckily it’s an easy repair that won’t deprive you of freshly ground beans for too long.
Overview:
- Total time: approx. 20 minutes including light cleaning, 5 minutes without any cleaning
- Total cost: ~ EUR 3 / ~ USD 3.50
The actual culprit here is a spring inside the doser. It’s a common problem that luckily is an easy and cheap fix.
First we’ll have to remove the doser. There are two screws in the top of the doser and two in the bottom. If there are still grounds in the doser you will have to empty the doser first. Remove the bottom two screws first, then the two at the top.

Remove the bottom two screws, then the top top screws
For good measure I always clean the doser whenever I take it off. Even though I highly recommend cleaning the doser now, it’s entirely up to you. If so, remove the plastic window and back out the top screw. Then remove the black nut that holds down the top vanes by pressing down on the vanes and then turning the nut counter-clockwise. Be careful, there is a spring underneath the upper doser vanes. I used a brush to remove old grounds and a wet lint-free cloth to remove any stains or stuck grounds.
- All apart. Time to clean
- Plastic window carefully removed
- Top screw removed
Now we put the doser upside down to remove the two 3mm Allenbolts that hold the bottom assembly in place.

Two 3mm Allenbolts to go
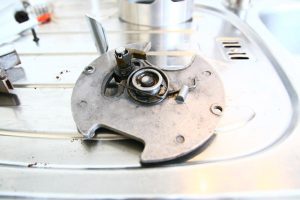
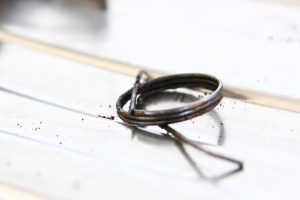
Once that’s off we can immediately see the culprit, the main spring has broken. It’s broken but it’s still holding together by a little bit. Obviously not enough to still work though.
- Broken, but not severed yet
- Spring removed
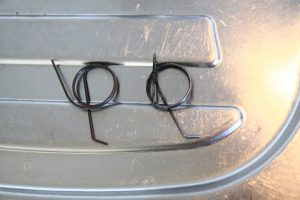
- New spring on the left
Installing a new spring is rather easy, put the two ends of the spring where they should end up and then pull the loops of the spring over the pivot of the handle. You could also put it on the pivot and one end first and then pull the other end towards where it should go but that’s entirely up to you. Make sure the left side of the spring is in its notch in the pawl (the brass part that looks like a finger).

New spring installed
Now we simply reverse the whole process to put the doser back together. Put the bottom with handle back underneath the doser. Check the gasket that goes between the doser and the main body of the grinder, if it’s torn, weathered, sticky or looks remotely funny then replace it. Mine looked fine as it is still quite new so I put the doser back on the grinder. First make sure all screws are engaged a few turns, then tighten the bottom two screws before tightening the two on the top. I then put the top vanes and spring back in and the locking screw on top.
Conclusion
Good as new =) It really doesn’t take long and it isn’t terribly expensive either. One last thing you guys might have noticed is the little white “funnel” that’s always on the bottom of my doser. That funnel is called the “Schectermatic Shnozzola” that I initially found on the Home Barista forums years ago. The funnel is meant to prevent the “throw to the left” syndrome that is common to these dosers. Just download the pdf (alternative download location!), print, cut out and install. If anything this is the most essential modification around for the Mazzer dosers. Big thanks to Andy Schecter!

All done!


Thank you so much for this detailed tutorial. Just fixed mine (10 y old) thanked to it!
Glad it was helpful, good to hear you’re back to making coffee!
Sebastiaan, Thank you for the information on spring repair. Would the spring be the culprit with a doser lever that feels too tight? Thanks, John
Hi John, no this particular spring only has an effect on the “return” action of the dozer handle. It doesn’t affect how tight or loose the rotation of the dozer itself feels. I’d suggest taking the dozer apart, giving it a good clean and then use so food safe grease on the shaft of the dozer’s “star”.